Contouring and highlighting have transformed the makeup landscape, evolving from techniques reserved for theatrical makeup and photography to everyday beauty staples. When executed with skill and precision, these complementary techniques can enhance facial features, create dimension, and deliver a sculpted, camera-ready appearance. In this comprehensive guide, we'll explore the art of contouring and highlighting from a professional visagiste's perspective, covering everything from fundamental principles to advanced application techniques.
Understanding Light and Shadow: The Foundation of Contouring and Highlighting
Before diving into specific techniques, it's essential to understand the basic principles that make contouring and highlighting effective.
The Science of Facial Perception
Our perception of facial features is largely influenced by how light interacts with the face:
- Areas that protrude naturally catch more light and appear more prominent
- Recessed areas create natural shadows and appear to recede further
- By strategically placing darker and lighter products, we can manipulate this perception
The Basic Principle
- Contouring: Uses darker shades to create the illusion of shadows, making areas appear to recede
- Highlighting: Uses lighter shades to bring areas forward and create the appearance of height
When these techniques are used together, they create dimension and definition that can enhance natural bone structure or subtly alter the appearance of facial features.
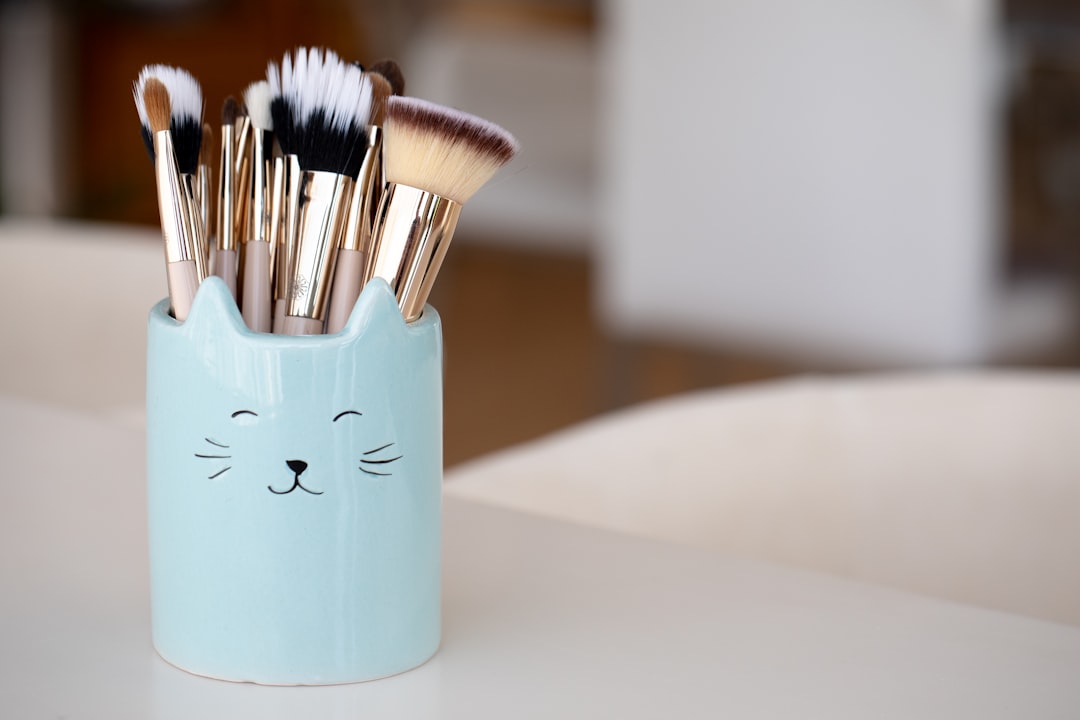
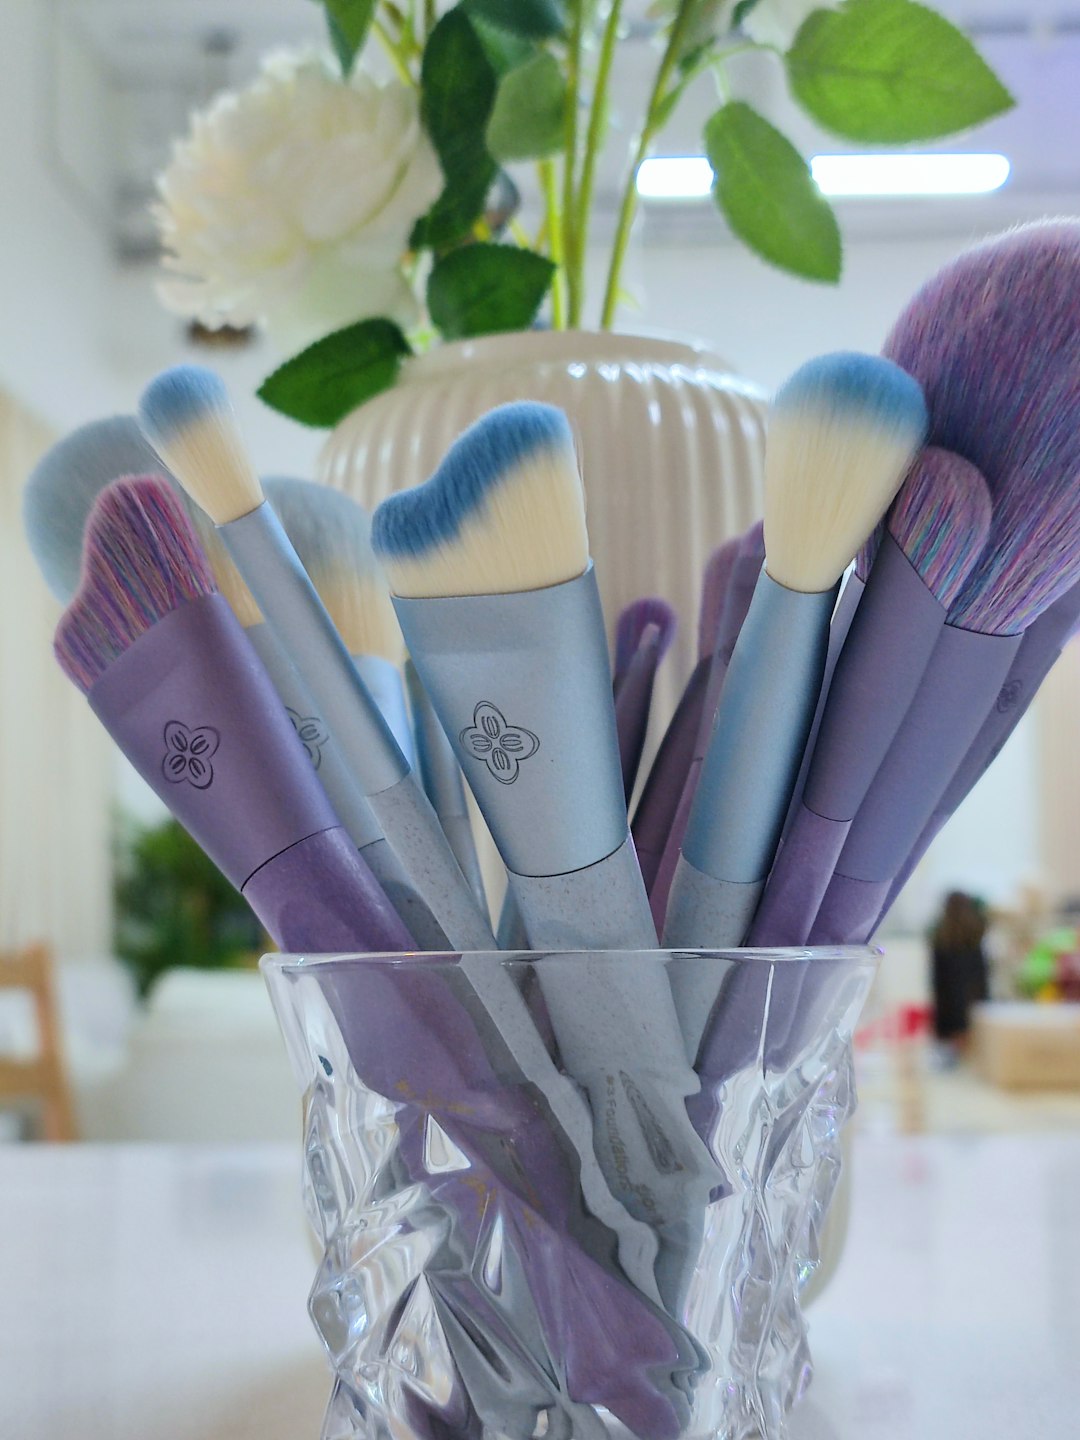
Essential Tools and Products
Achieving professional-quality contour and highlight requires the right tools and products.
Contour Products
Effective contour products should be:
- 2-3 shades darker than the client's natural skin tone
- Matte (avoid shimmer in contour products, which defeats the shadow effect)
- The right undertone for the client's skin (cool-toned for fair skin, neutral to warm for medium and deep skin)
Contour products come in various formulations:
- Powder contours: Ideal for beginners, easier to blend, and best for normal to oily skin
- Cream contours: Provide a natural finish, ideal for dry to normal skin, and blend seamlessly with foundation
- Liquid contours: Offer precision, can be sheered out for natural looks or built up for drama
Highlight Products
Highlighting products should be:
- 1-2 shades lighter than the client's skin tone
- Available in both matte and luminous finishes, depending on the desired effect
- Complementary to the client's undertone
Highlight products include:
- Matte highlighters: Ideal for subtle sculpting and under-eye brightening
- Satin highlighters: Create a natural luminosity that works well for everyday looks
- Metallic or shimmery highlighters: Provide maximum impact for editorial or special event makeup
Essential Brushes and Tools
- Contour brush: Angled, medium-sized, and dense enough to deposit product precisely but still allow for blending
- Highlight brush: Tapered, medium to small, and fluffy enough to diffuse product naturally
- Blending brush: Soft, fluffy, and rounded to seamlessly blend the edges between contour, highlight, and foundation
- Beauty sponge: Damp sponges help blend cream and liquid products for a natural finish
Face Mapping: Understanding Where to Place Product
Proper placement is crucial for effective contouring and highlighting. While there are general guidelines, the most important principle is to adapt these placements to each individual face shape.
Universal Contour Placements
- Hairline: Softly contour around the hairline to frame the face
- Temples: Adding contour here helps balance wider foreheads
- Hollows of the cheeks: Place contour in the natural hollow beneath the cheekbone, starting from the ear and blending forward (but not extending beyond the pupil)
- Jawline: Defining the jawline creates structure and can make the face appear slimmer
- Sides of the nose: Subtle contour along the sides can create the appearance of a narrower nose
Universal Highlight Placements
- Top of the cheekbones: Highlight the highest point of the cheekbone, extending toward the temple
- Bridge of the nose: A thin line down the center of the nose creates the illusion of height
- Cupid's bow: Highlighting this area defines the lips and adds dimension
- Center of the forehead: Creates the appearance of a more forward brow bone
- Center of the chin: Brings the chin forward and creates balance
Adjusting for Different Face Shapes
While the above placements work universally, they should be adapted for different face shapes:
Oval Face
- Considered the "ideal" face shape that requires minimal correction
- Focus on enhancing natural bone structure rather than reshaping
Round Face
- Contour more strongly along the temples and jawline to create definition
- Place contour slightly higher on the cheekbones to elongate the face
- Highlight the center of the forehead and chin to create length
Square Face
- Focus contour on the corners of the forehead and jawline to soften angles
- Highlight the center of the forehead and chin to bring these areas forward
Heart-Shaped Face
- Contour the temples and sides of the forehead to reduce width
- Apply highlight to the chin and jawline to add dimension to the lower face
Long Face
- Contour the chin and hairline to reduce length
- Highlight the cheekbones horizontally to create width
Diamond Face
- Highlight the forehead and jawline to balance the prominent cheekbones
- Contour the cheekbones slightly to soften their appearance
Application Techniques for Natural Results
The most skilled contouring and highlighting appears natural while still enhancing features effectively.
The Layering Approach
Professional makeup artists often work in thin, buildable layers:
- Apply foundation first, creating an even base
- Add contour in sheer layers, building intensity gradually
- Apply highlight with a light hand, then intensify only where needed
- Always blend thoroughly between layers
Blending Techniques
Proper blending is what separates professional contour and highlight from amateur attempts:
- For powder products: Use circular buffing motions with a fluffy brush to diffuse edges
- For cream products: Pat and press with a damp beauty sponge, then buff with a synthetic brush
- Always blend upward with contour (except jawline contour, which should be blended downward)
- For highlight: Tap and press rather than sweep to maintain placement and intensity
The "Less is More" Principle
Professional contour and highlight should enhance rather than mask:
- Start with minimal product and build gradually
- Step back from the mirror frequently to assess the overall effect
- Consider the lighting conditions where the makeup will be seen
- Remember that what looks subtle in makeup lighting may appear more dramatic in natural light
Advanced Techniques for Professional Results
Once you've mastered the basics, these advanced techniques can elevate your contouring and highlighting to professional levels.
Multi-Dimensional Contouring
Professional makeup artists often use multiple contour shades to create realistic dimension:
- Use a slightly warmer, lighter contour shade for most of the face
- Apply a cooler, deeper contour only in the deepest hollows (under cheekbones, jawline)
- Layer different product formulations (e.g., cream base with powder to set)
Strategic Highlighting
Advanced highlighting involves strategic layering of different textures:
- Start with a matte or satin highlighter in larger areas
- Add metallic or shimmer highlight only at the highest points
- Consider using different tones (e.g., champagne on cheekbones, pink-toned on forehead)
Facial Feature Reshaping
Beyond basic face shaping, contouring and highlighting can adjust specific features:
Nose Contouring
- For a narrower appearance: Place two thin lines of contour down the sides of the nose
- For a shorter appearance: Add contour to the tip and underside of the nose
- For a straighter appearance: Place contour only on the side with the bump or curve
- Always use a small, precise brush and blend thoroughly
Lip Contouring
- For fuller lips: Highlight just above the cupid's bow and the center of the bottom lip
- For more defined lips: Use a contour product slightly darker than the lip color to outline before applying lipstick
Eye Contouring
- For hooded eyes: Place contour in the crease and highlight the center of the lid
- For close-set eyes: Apply contour to the outer corners and highlight the inner corners
- For deep-set eyes: Highlight the lid and use contour sparingly only in the outer crease
Adapting Contour and Highlight for Different Contexts
Professional makeup artists adjust their approach based on the context and client needs.
Everyday Makeup
- Use sheer, natural formulations that mimic real shadows
- Focus on subtle enhancement rather than dramatic reshaping
- Opt for cream products that meld with the skin
- Keep highlight minimal and satin-finished rather than metallic
Special Event and Photography
- Intensify both contour and highlight for camera visibility
- Consider how flash photography may interact with shimmer products
- Set cream products with powder for longevity
- Extend contour slightly further than for everyday looks
Mature Skin Considerations
- Use cream formulations that don't settle into fine lines
- Place highlight strategically, avoiding areas with texture concerns
- Opt for satin-finish products rather than matte (which can appear flat) or high-shimmer (which can emphasize texture)
- Focus on lifting techniques, placing contour and highlight at slight upward angles
Contour and Highlight for Different Skin Tones
The principles remain the same, but product selection should be tailored:
- Fair skin: Use cooler-toned contours (taupe, cool brown) and pearl or champagne highlights
- Medium skin: Choose neutral to warm contours and golden or peachy highlights
- Deep skin: Select rich, warm contours (deep chocolate, auburn) and gold, copper, or bronze highlights
- Very deep skin: Use contours with red undertones and highlights with strong gold or bronze pigmentation
Common Mistakes and How to Avoid Them
Even experienced makeup artists can fall into these common pitfalls:
Contour Mistakes
- Unblended lines: Always use a clean brush for final blending
- Too-dark product: Select contour shades that are only 2-3 shades deeper than the skin tone
- Wrong undertone: Avoid contours that appear orange or gray against the client's skin
- Placement too low: Contour should be placed in the hollow beneath the cheekbone, not below it
- Heavy application: Start with minimal product and build gradually
Highlight Mistakes
- Excessive shimmer: Reserve high-shimmer products for evening events or specific focal points
- Highlighting textured areas: Avoid placing shimmer on areas with blemishes, large pores, or fine lines
- Disconnected placement: Ensure highlight and contour work together rather than appearing as separate elements
- Too-light product: Choose highlights that complement rather than contrast too dramatically with the skin tone
Conclusion
Mastering the art of contouring and highlighting takes practice, precision, and an understanding of how light and shadow interact with facial features. When executed correctly, these techniques can dramatically enhance natural beauty, create photogenic results, and allow for subtle reshaping without appearing heavy or mask-like.
Remember that the most effective contouring and highlighting is customized to each face—there is no one-size-fits-all approach. By studying your client's unique bone structure, understanding their desired outcome, and applying these professional techniques with a thoughtful, measured approach, you can achieve sculpted, dimensional results that enhance rather than mask their natural beauty.

About the Author
James Wilson
Special Events Specialist at EveningDell who excels at creating sophisticated, camera-ready looks for galas, premieres, and corporate events. His attention to detail ensures flawless makeup that lasts throughout any occasion.